Tutorial. Part 3. Details
In this part of the tutorial we will explain how to work with details.
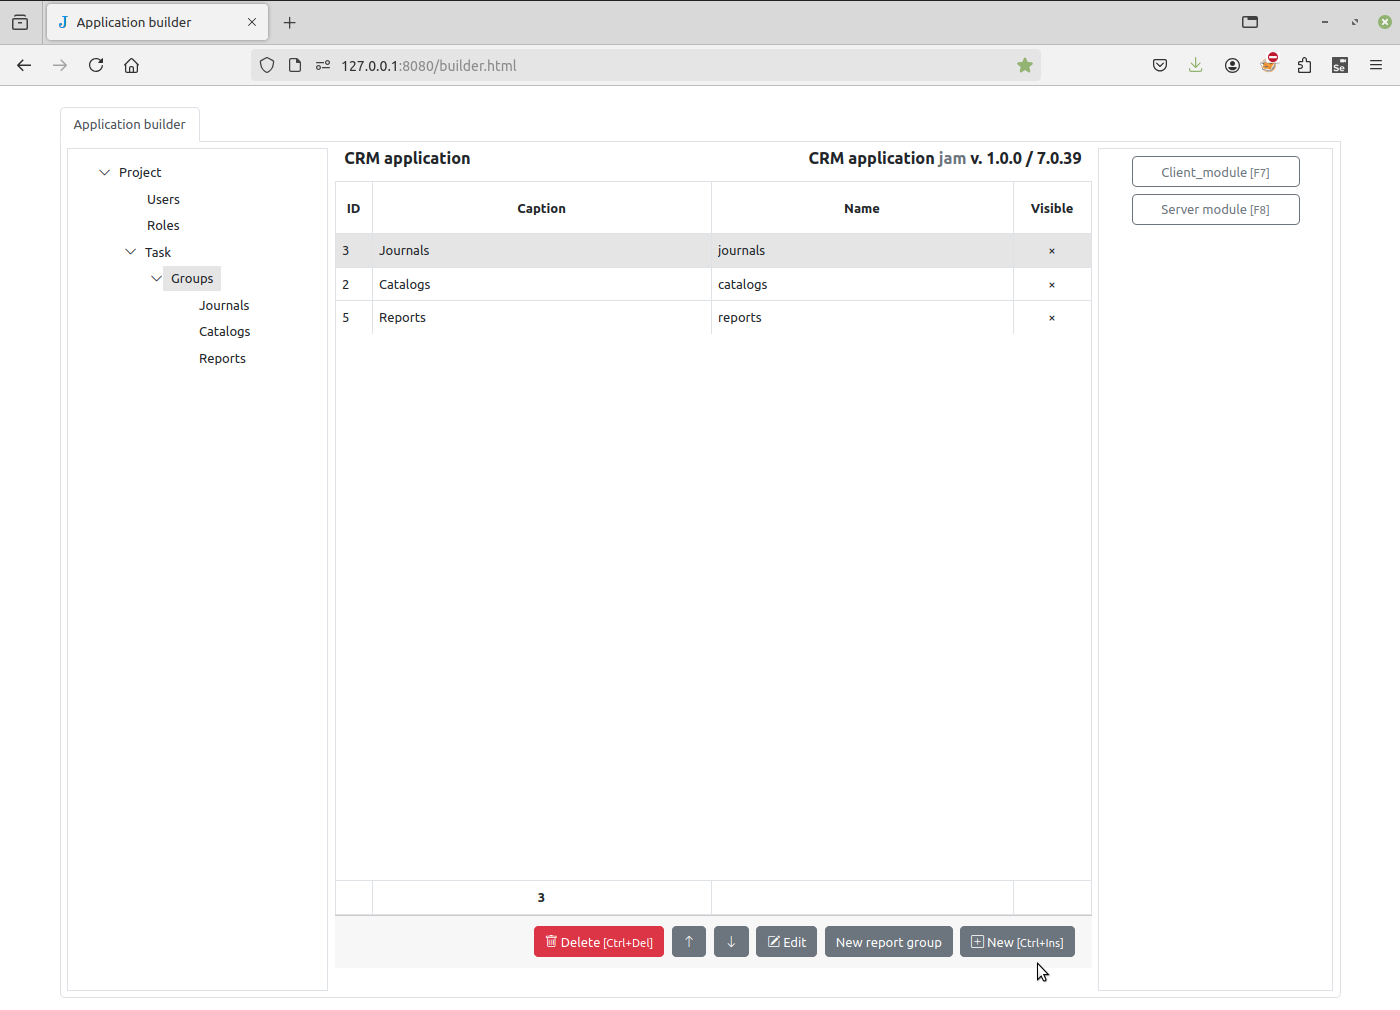
Let’s select the “Task/Groups” item in the project tree and click the New button at the bottom right corner of the page:
Name it “Details”:
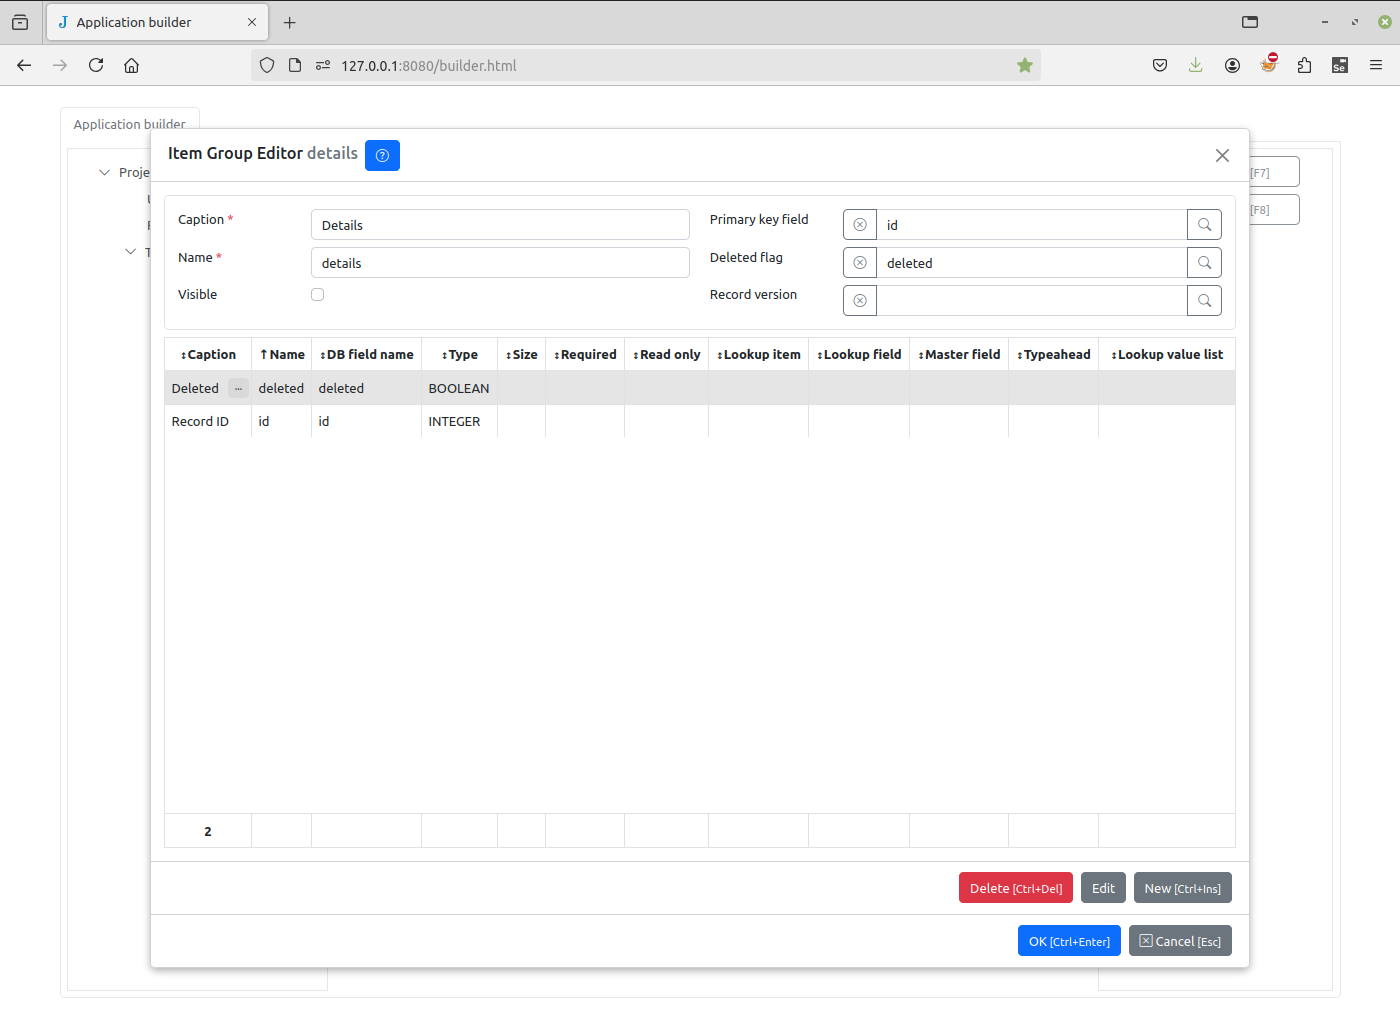
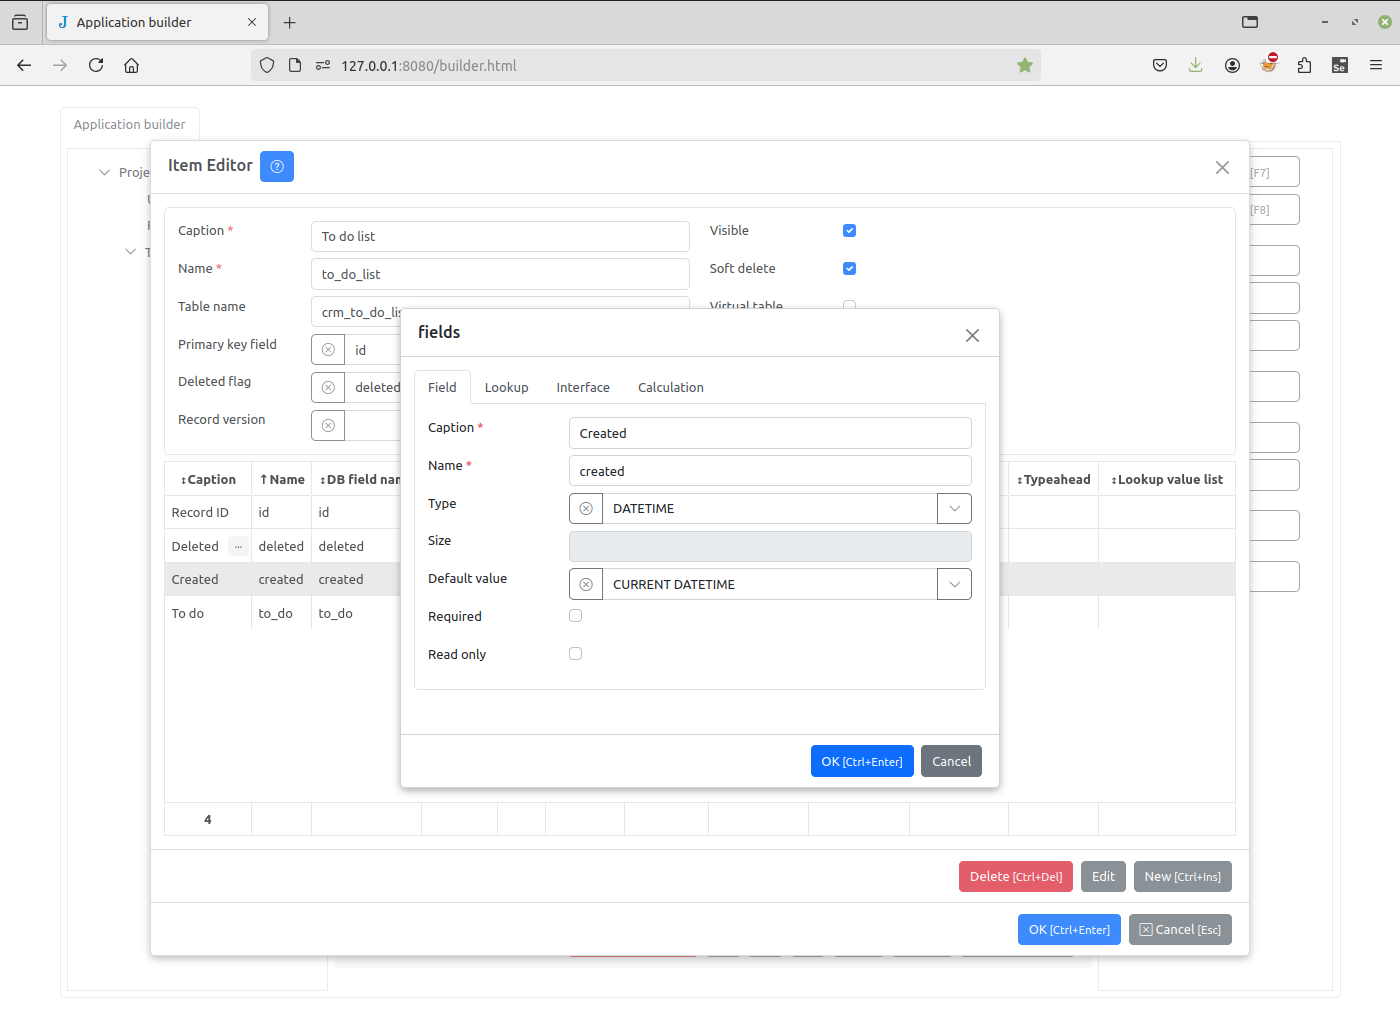
In the Item Editor dialog box, we will name the new item “To do list” and add the two fields “Created” and “To do” in the same way as in the previous tutorial:
Note
The most important step now is to create the field that “links” the Detail to its Master. This is a key difference from Jam.py v5, where Detail records were handled as a legacy feature.
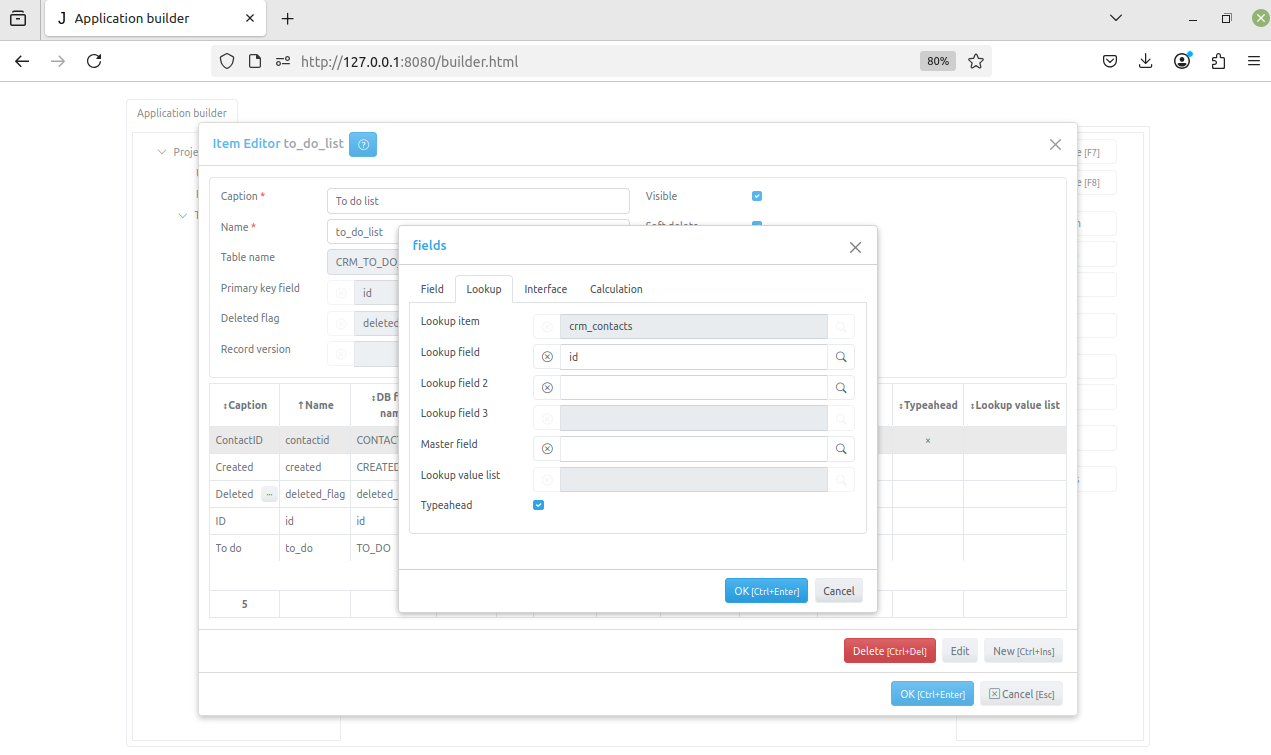
For example, create field “ContactID”:
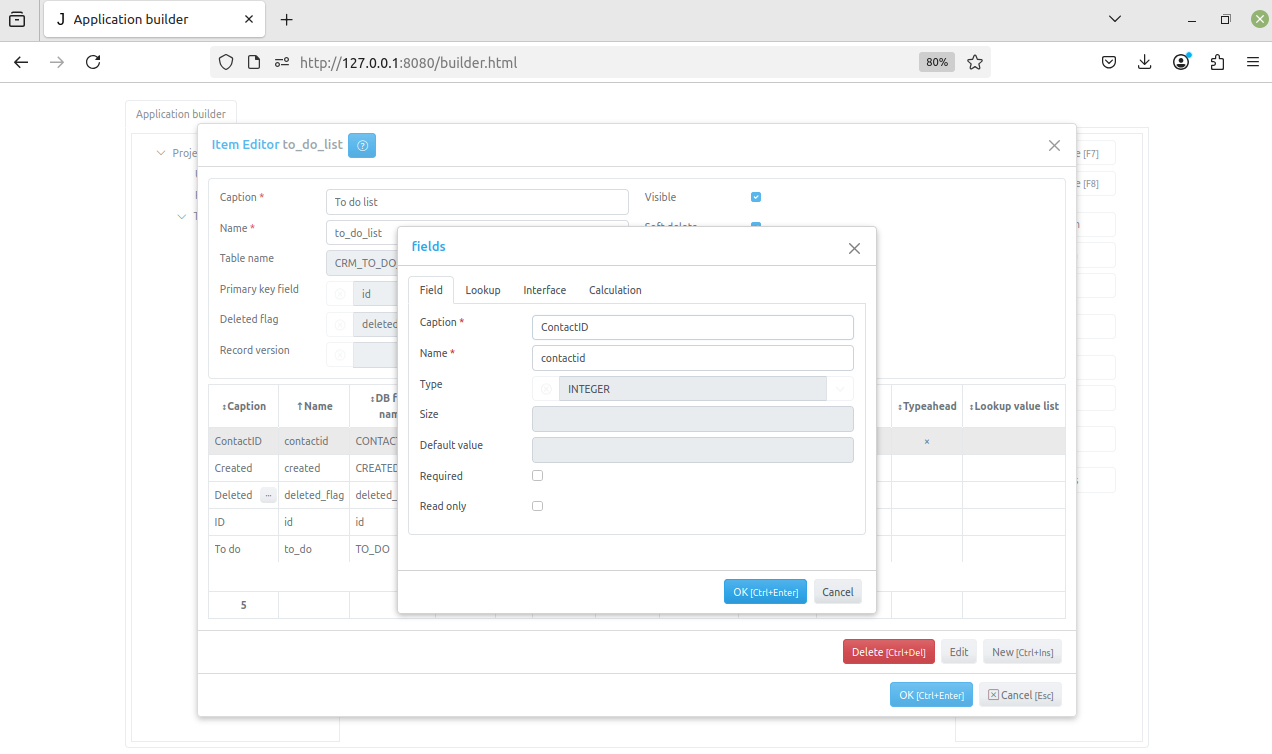
The “ID” field is a lookup field to “Contacts” table.
After saving the “To do list”, select the “Contacts” journal and click the Details button in the right pane to open the Details Dialog.

Click the left arrow button to add the “To do list” to the “Contacts” details and the OK button to save changes.
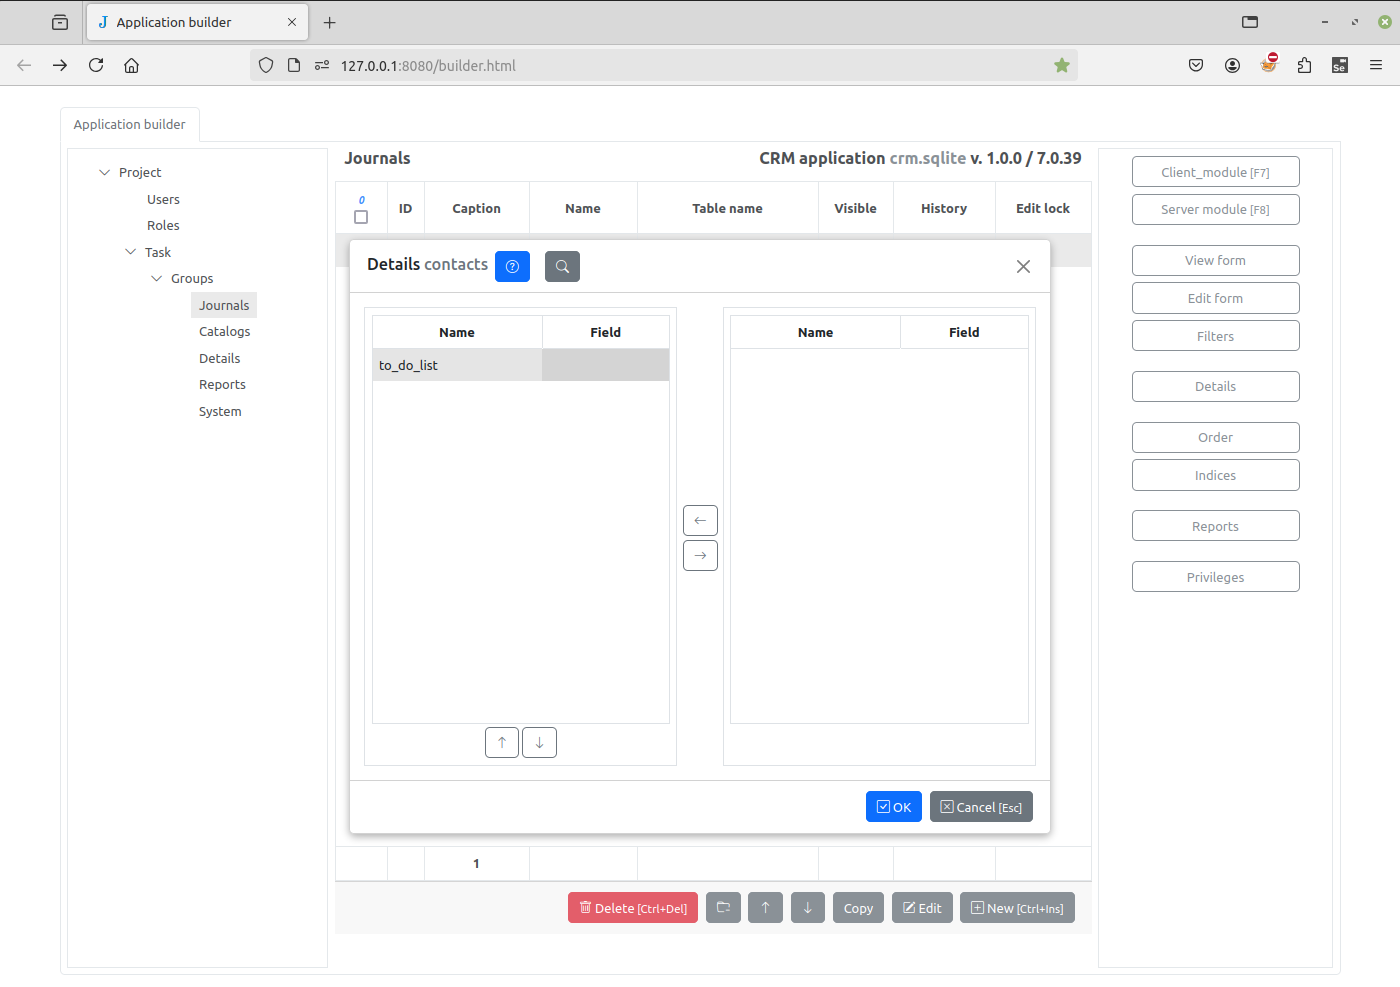
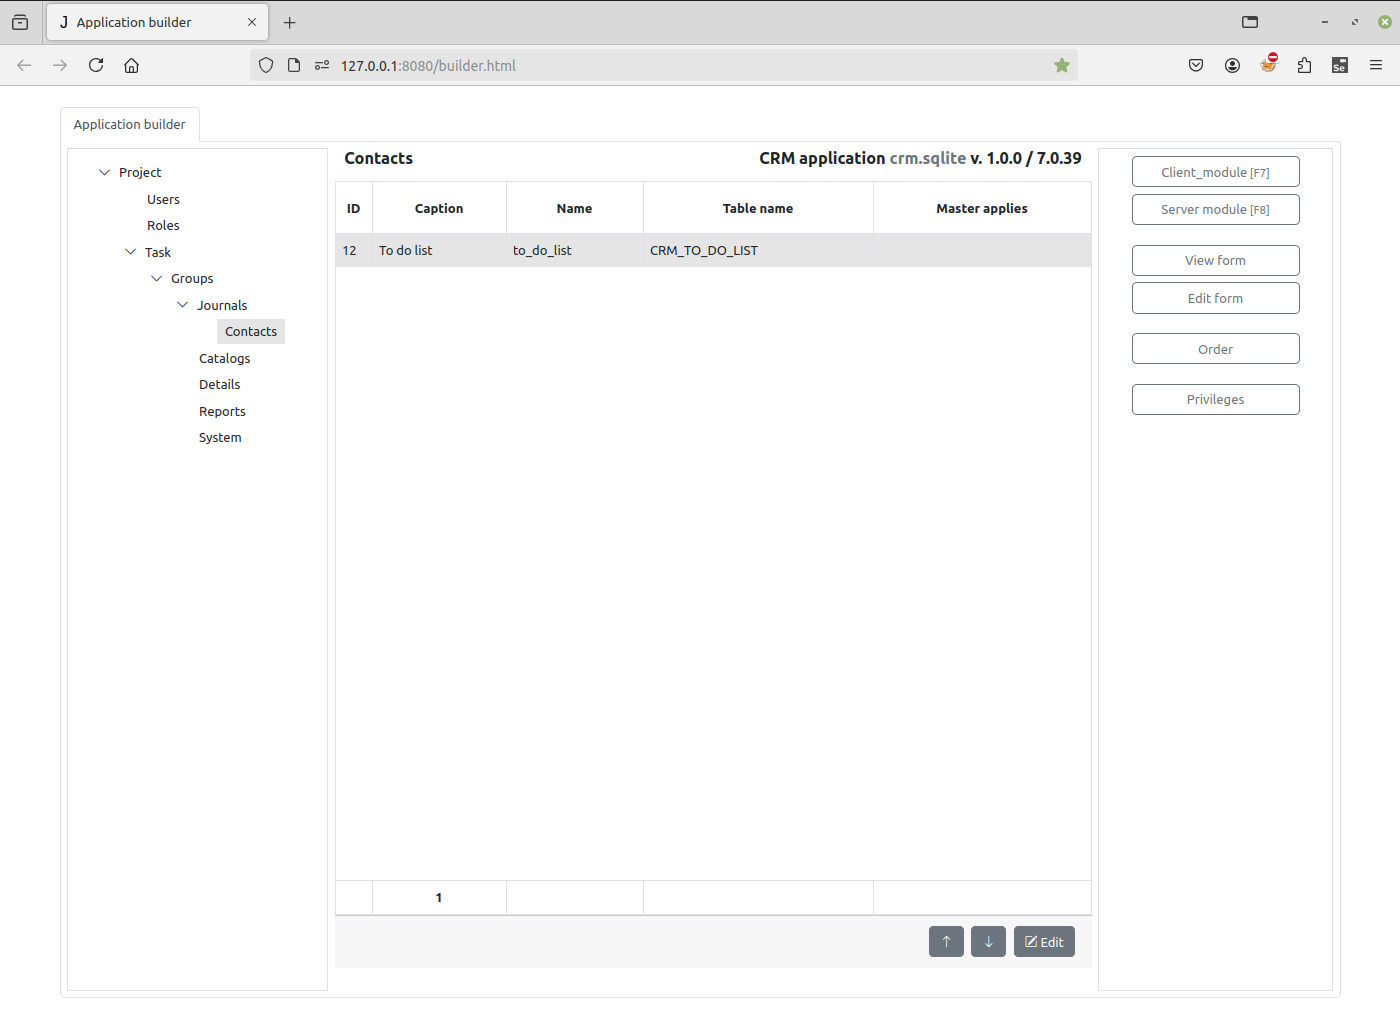
A new “To do list” item will be created as a Detail of the “Contacts” journal.
Note
Here we also control the “Order” for used Details.
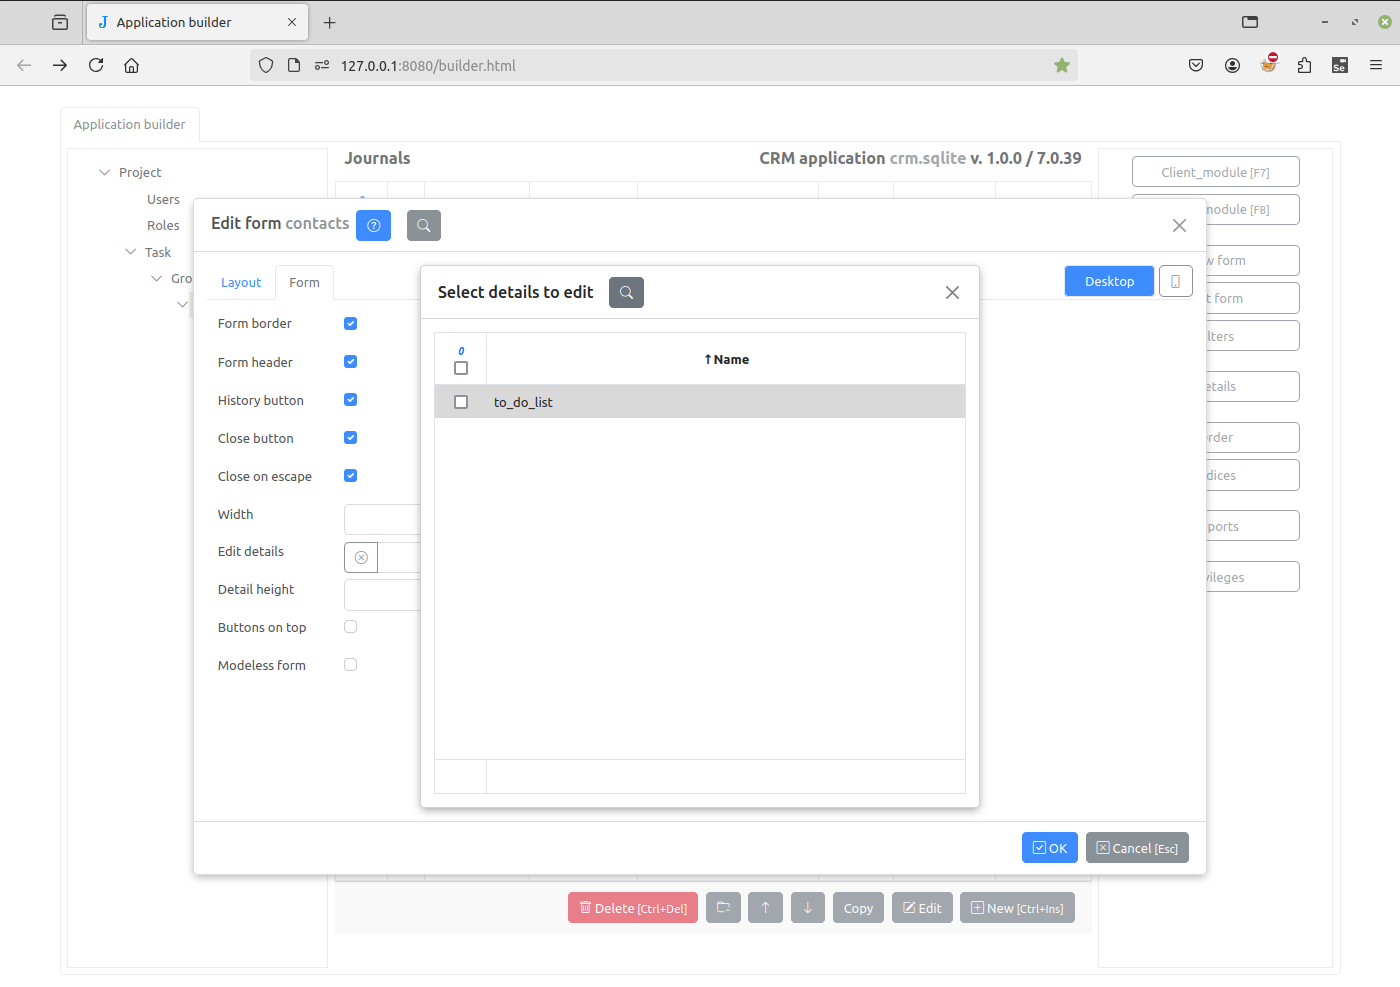
Select the “Contacts” journal again and click the Edit form button to open the Edit Form Dialog. Select Form tab, click the button to the right of the Edit details input and select the “To do list” check box.
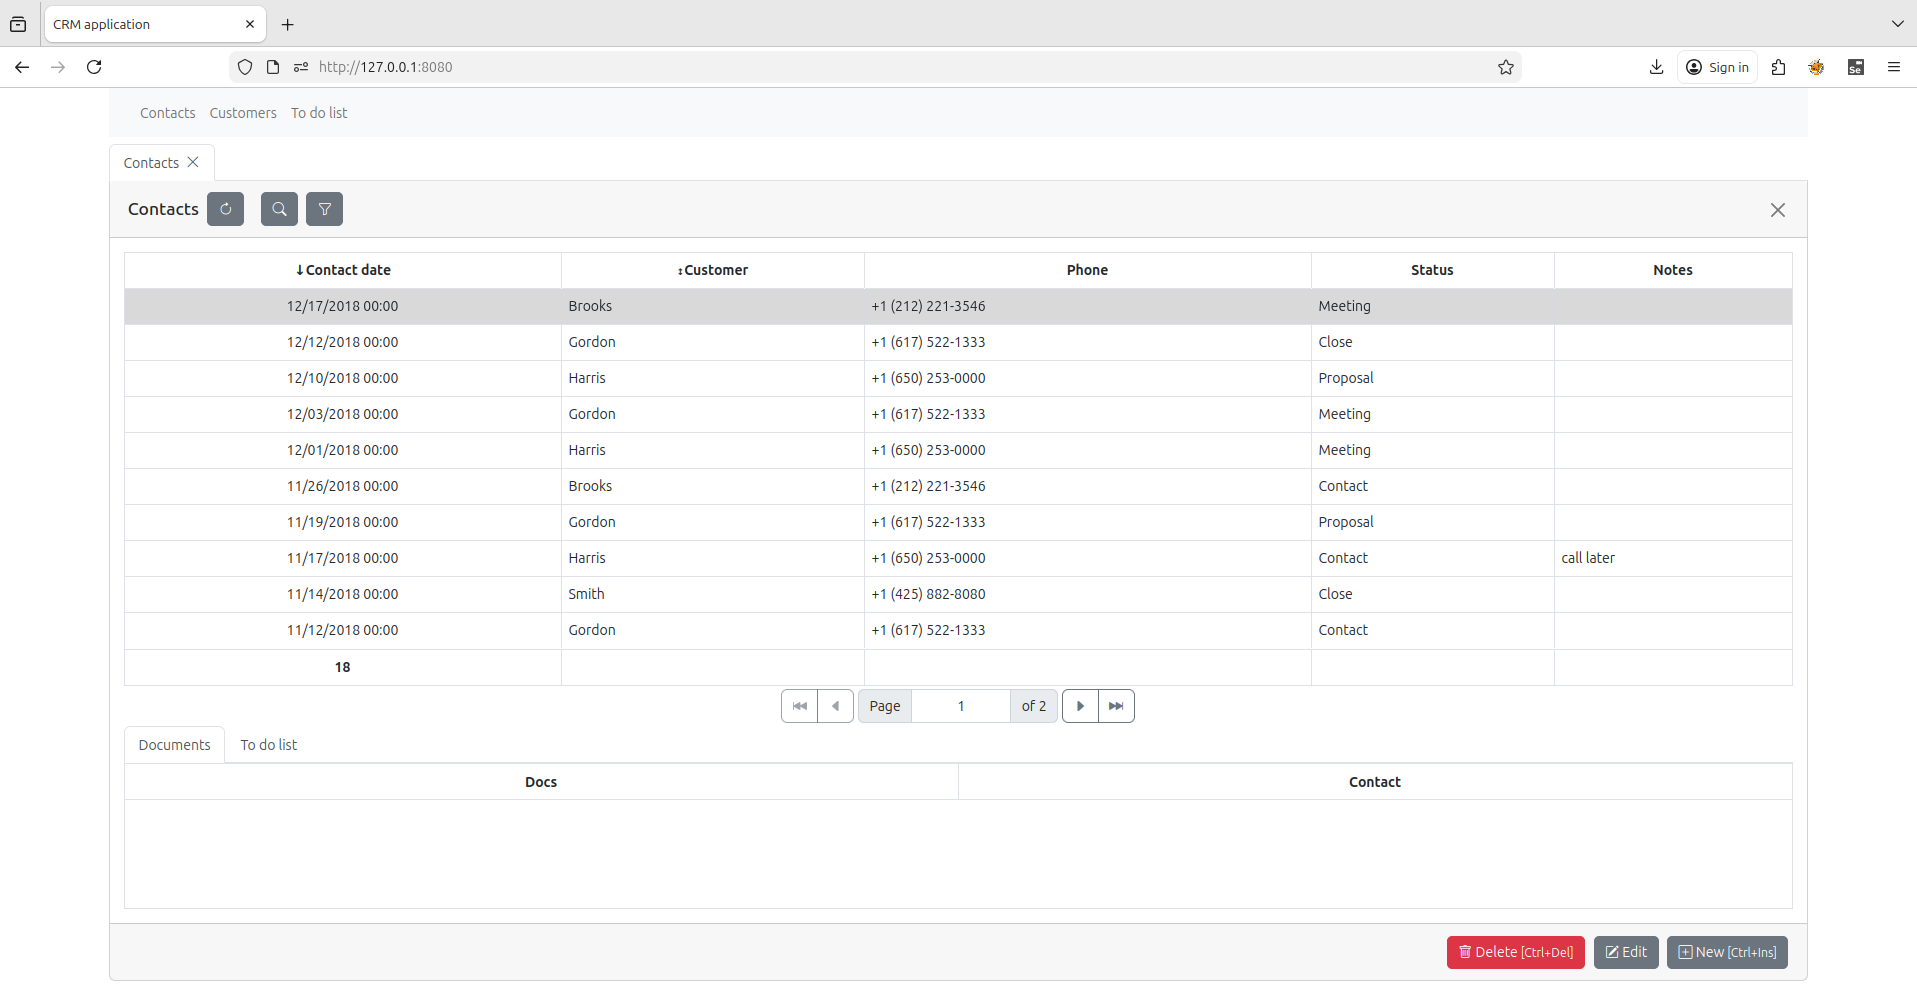
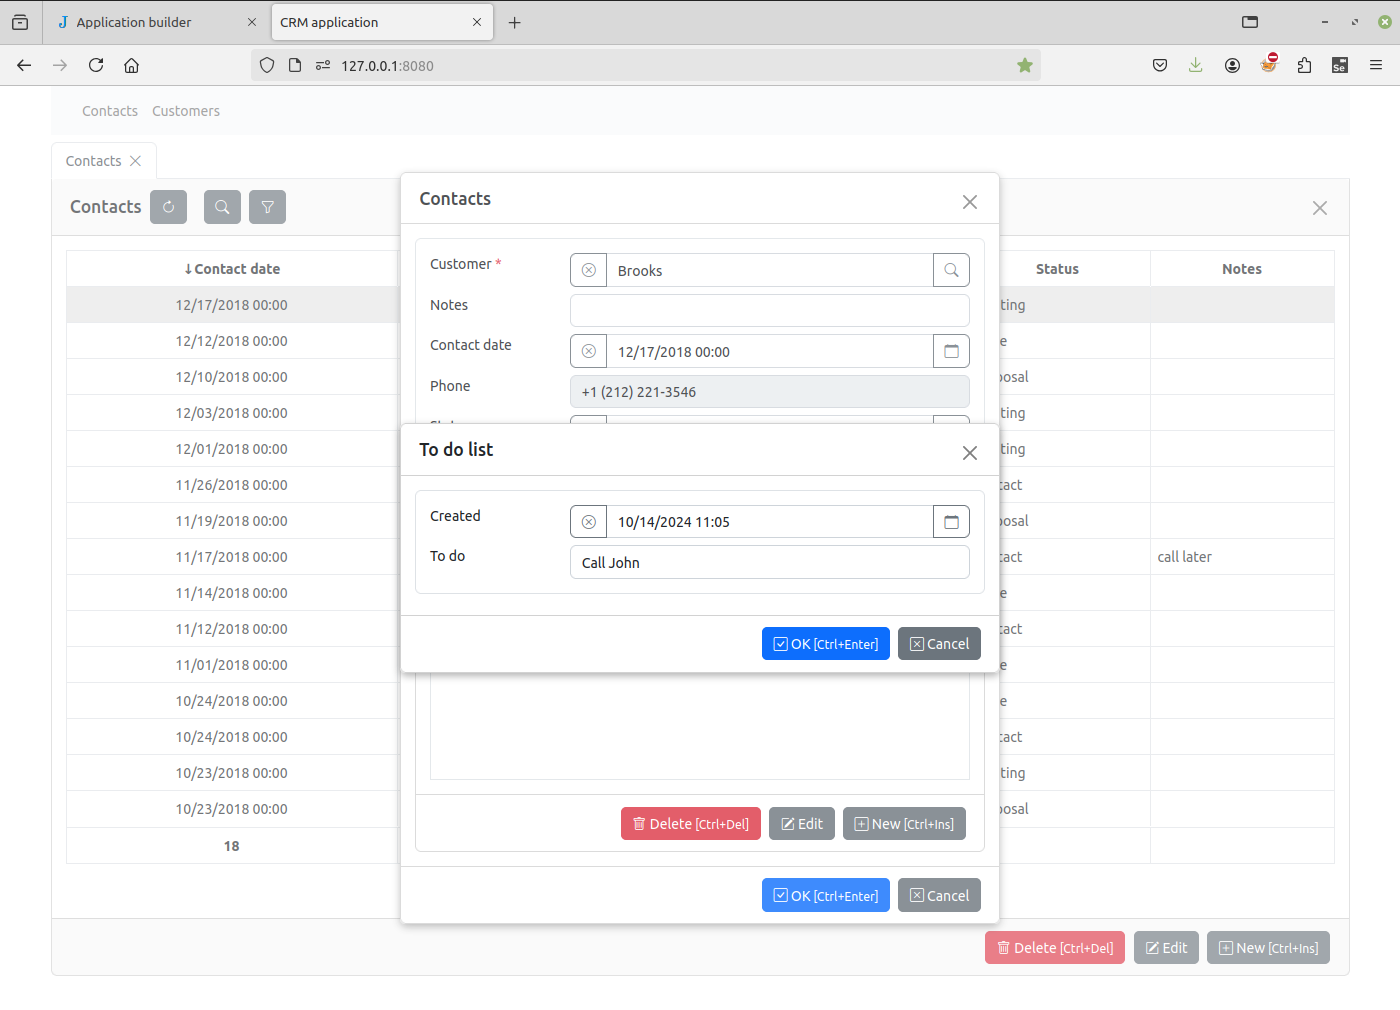
Let’s update the project page and double click on the contact. Now we can add items to the to-do list of the contact.
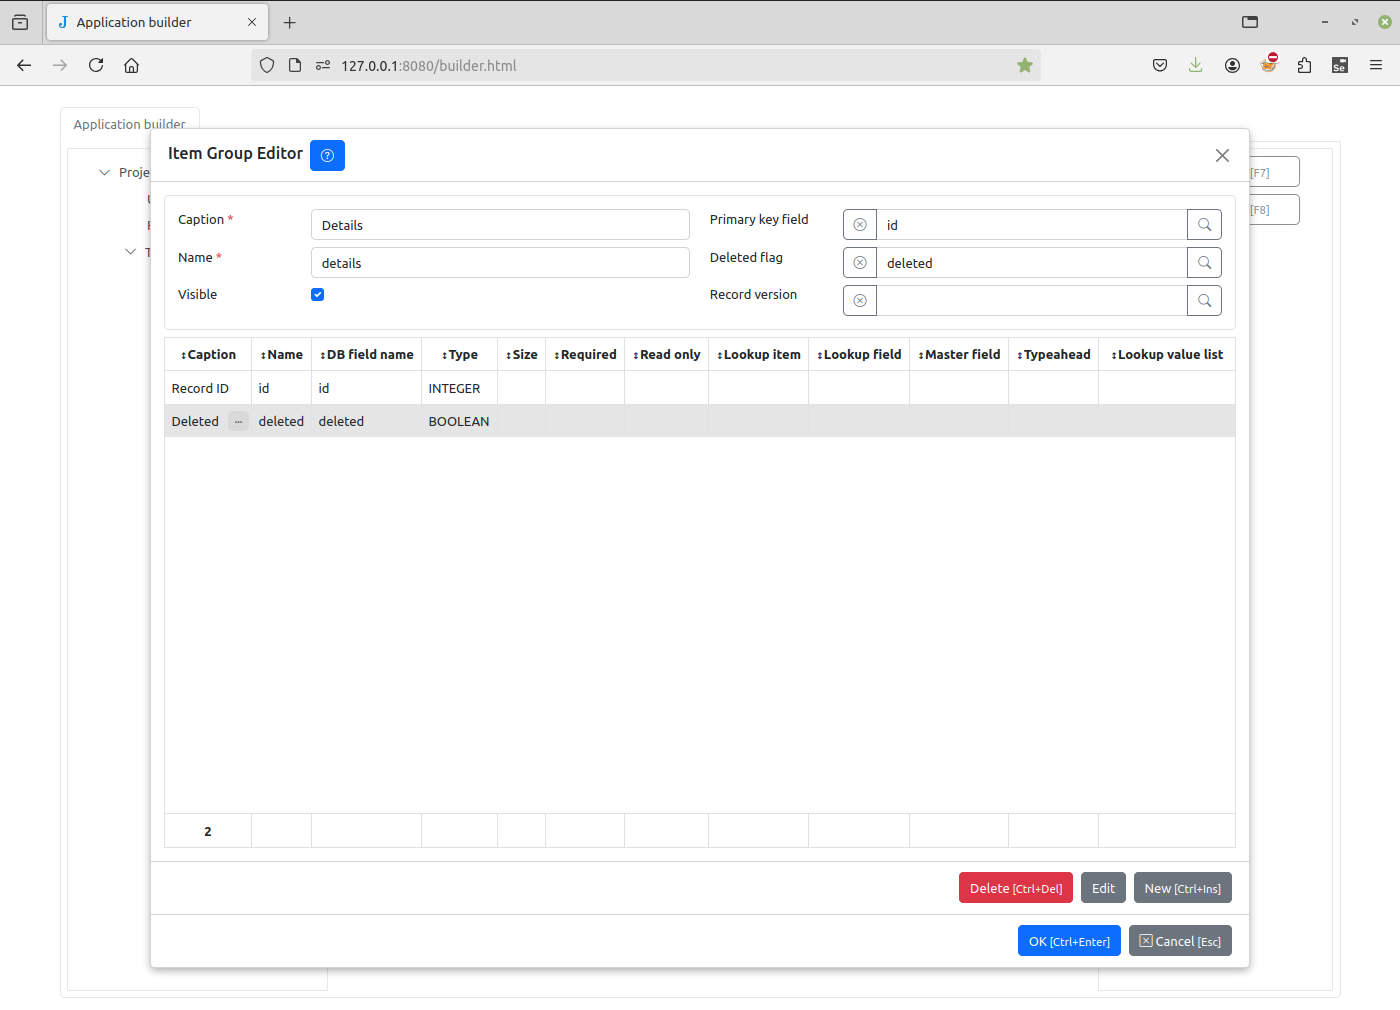
Click the Groups node in the project tree, double click the Details row and set Visible attribute to true.
When we refresh the project page, we will see the “To do list” item in the main menu. Click on it to see the to do list of all contacts.

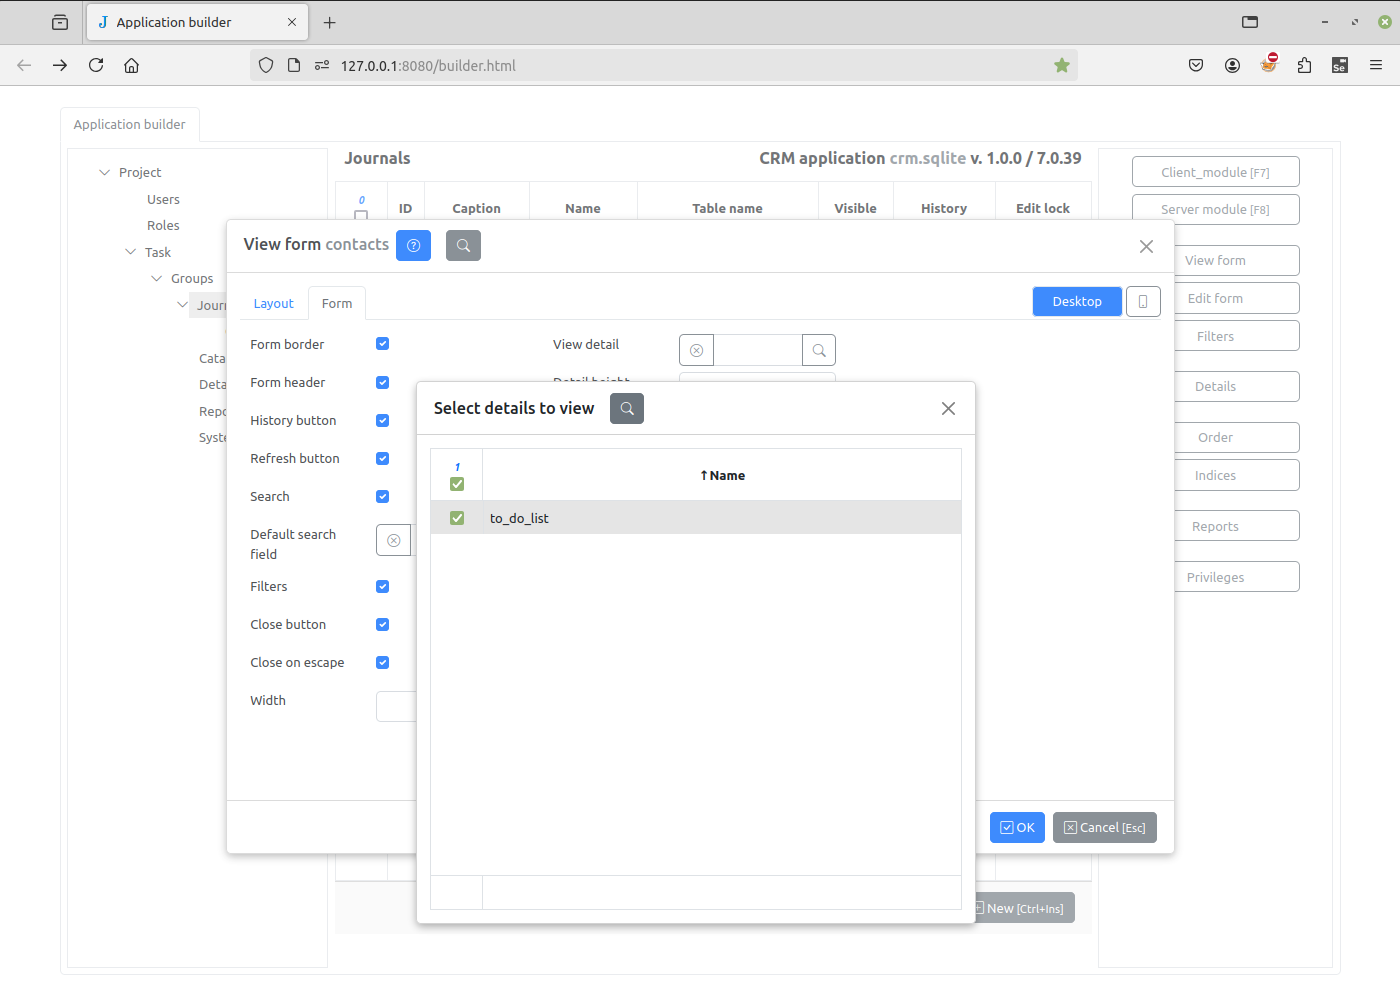
Select the “Contacts” journal again and click the View form button to open the View Form Dialog. Select Form tab, click the button to the right of the View detail input and select the “To do list” check box.
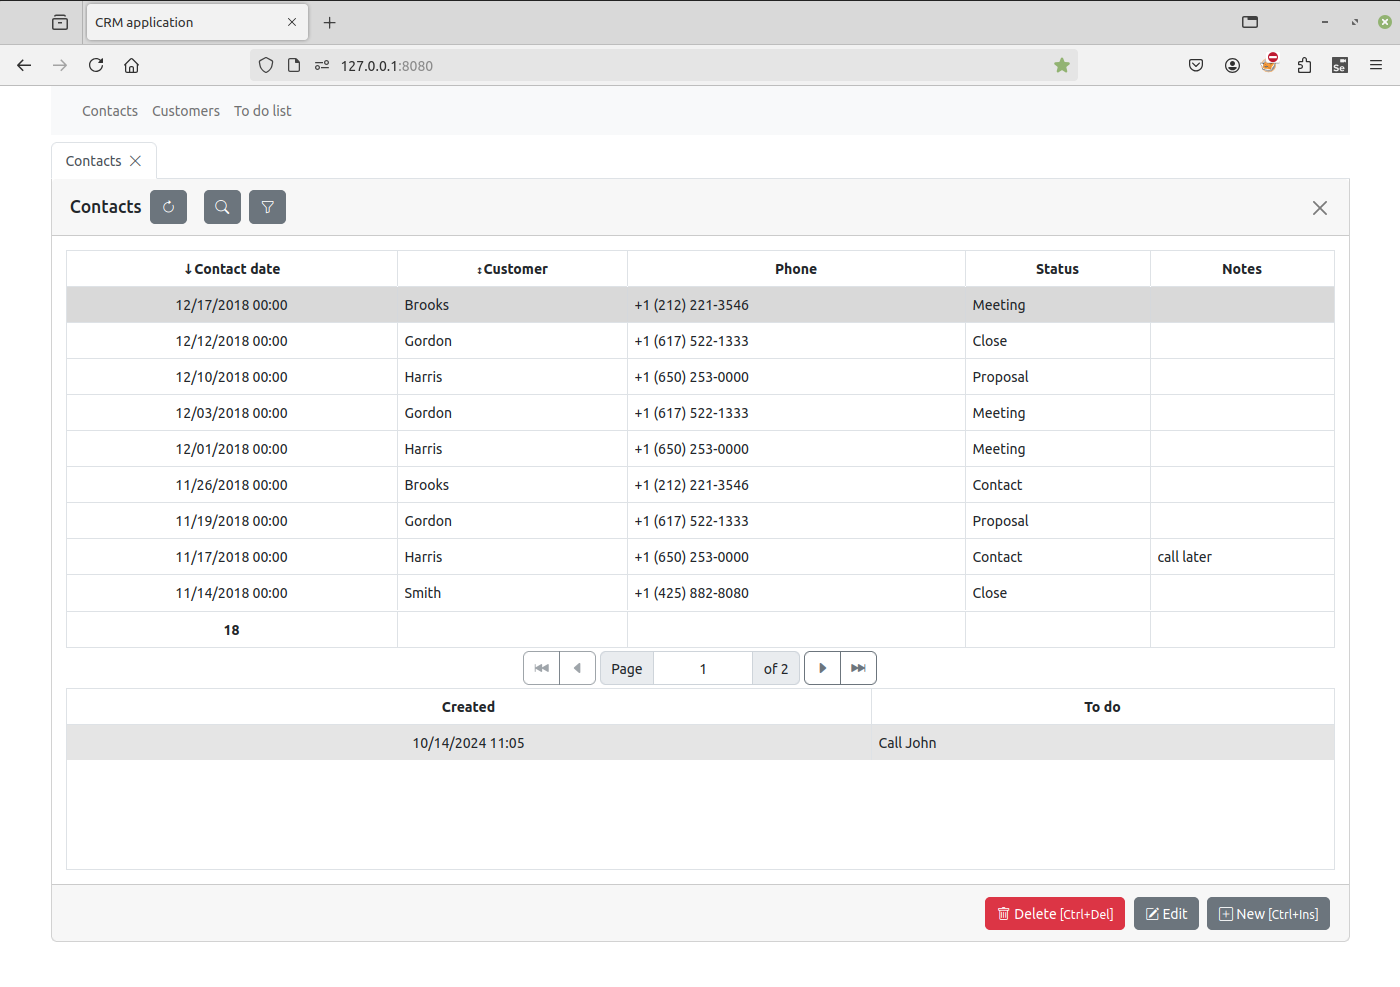
In the project page will see that the to-do list changes when the contact changes.
If more Details were added, for example a “Documents” Detail, two tabs will be displayed, “To do list” and “Documents”.
To control the “Order” for displayed Details, use UP/DOWN arrows on “Journals” “Contact” “Details” button on the right hand side. This will affect both View and Edit form.